Work with Settings
Main Settings
The system displays the Main Settings section when you go to the Settings section.
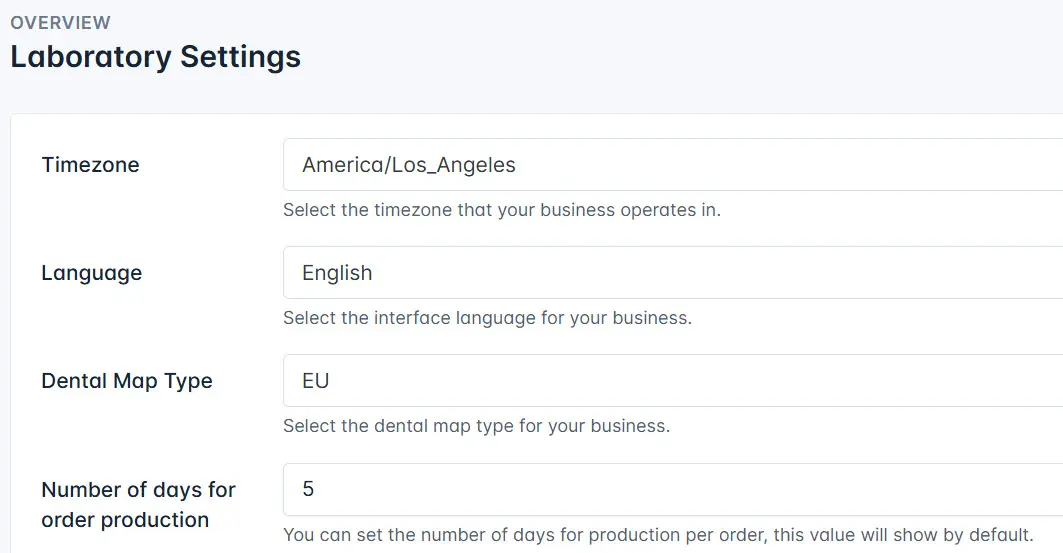
You can change the following settings:
- Timezone - select the time zone in which you work;
- Language - the system language;
- Dental Map Type - select the dental map type you need to use;
- Number of days for order production - set the number of days during which you must fulfill the order;
- Contact Information - your contact details that can be used to contact you;
- Email - add your contact email address;
- Registered Address - add the address you will use in the financial document;
- Customer Registration Open - customers can independently register in the system using the provided link if this setting is active;
- Auto Plan on Publish - activate it to automatically plann planing after the order publishing;
- Service Fee - add the amount of service fee;
- Holidays Schedule - specify the holidays shedule.
Click the Save button to save changes.
Currency Rates
You can set the currency exchange rates as follows:
- You set the exchange rate in the system yourself
- Or the exchange rate is updated automatically every morning.
Independent adjustment of the exchange rate
To set the currency exchange rate, do the following:
- Go to the Currency Rates section.
- Select the currency or currencies.
- Select the payment currency.
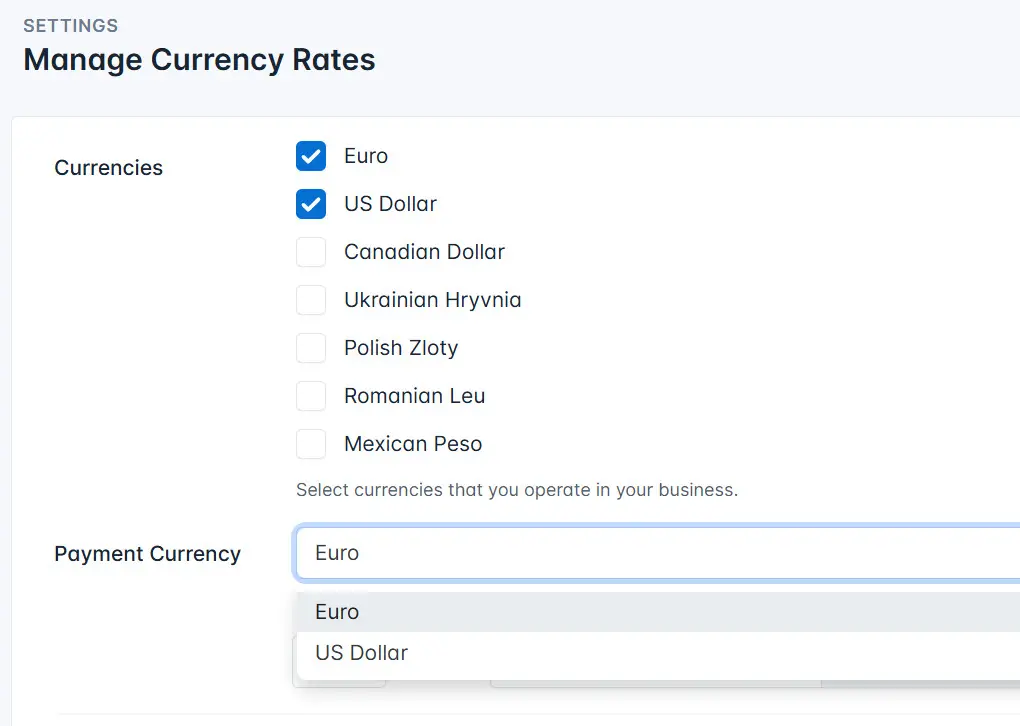
- Enter the amount for the selected currencies.
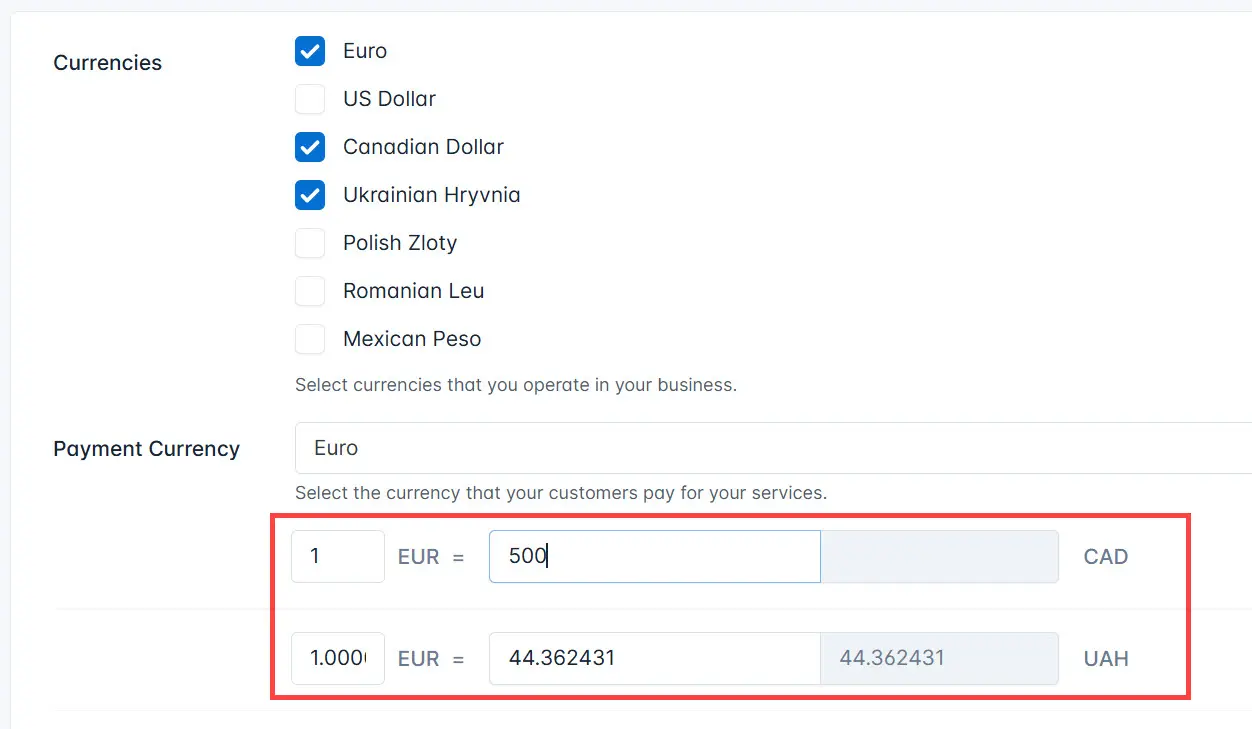
- Click the Save button.
Automatic adjustment of exchange rates
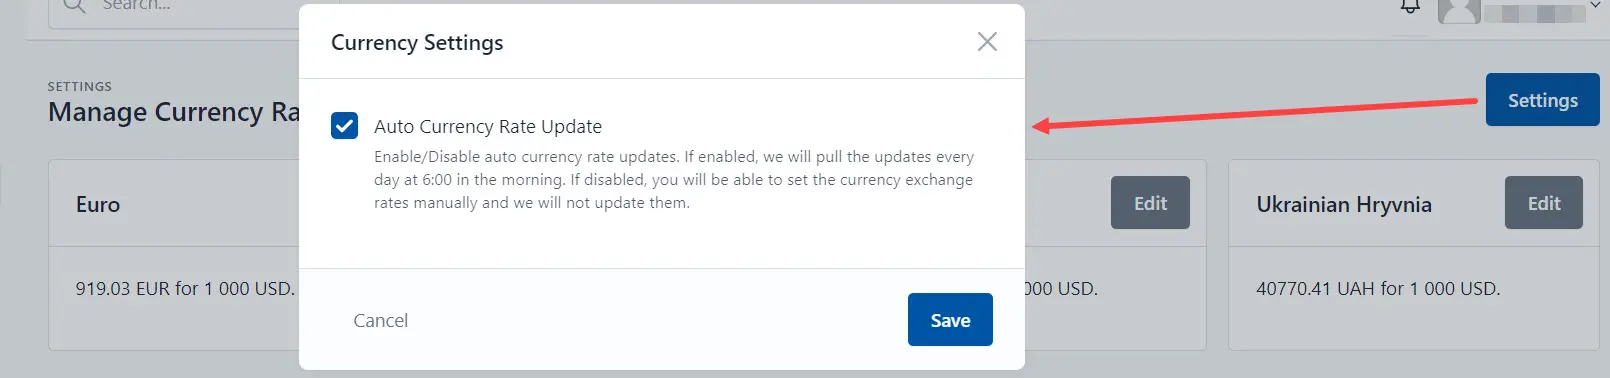
To automatic adjustment of exchange rates, do the following:
- Go to the Currency Rates section.
- Click the Settings icon.

- Check the Auto Currency Rate Update and click the Save button.
Customer Payments
The Customer Payments section allows you to set the payment gateways to help you handle online payments.
To set the payment gateway:
- Click the Settings button.
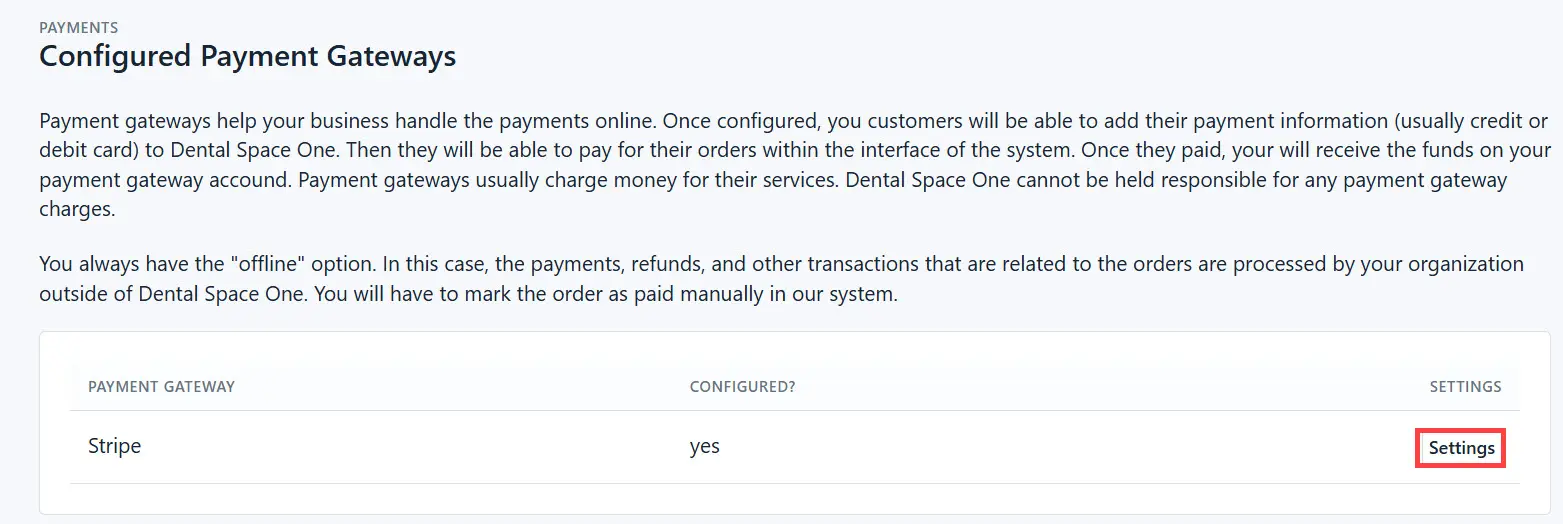
-
Add the provider keys to the fields.
-
Click the Save button.
Order tags
Order tags are used when you need to mark an order that is currently on hold.
You can add new tags to the system.
To do this, go to the Order tags settings subsection and click the Add tag button.
Enter the tag name, choose a color, and click the Save button.

Comment Templates
Comment templates are used to create predefined comments that can be applied when commenting on an order.
To create a new template:
- Click the Add comment template button.

-
Enter the comment text.
-
Specify the comment index. Indexes determine the display order of comment templates.
-
Choose a comment color.
-
Click the Save button.
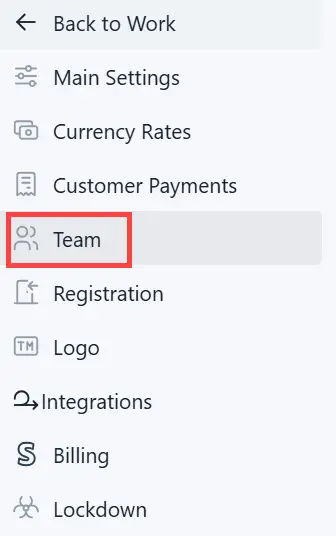
Team
You can add users to the system and define their access rights.
To manage users in the system, go to the Team section.
You can do the following:
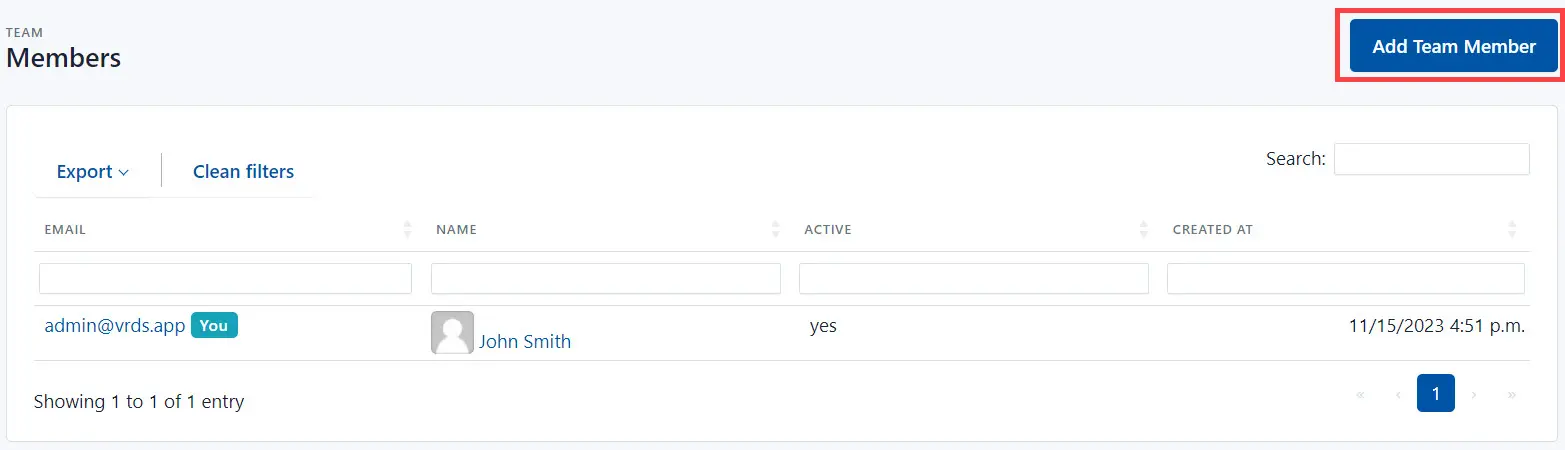
Add a new user
To add a new user, do the following:
- Click the Add Team Member button.
- On the Create New Team Member page:
- Add the user email. At this address, the user will receive a link by which they can independently set their password to the system.
- Add the first and last name.
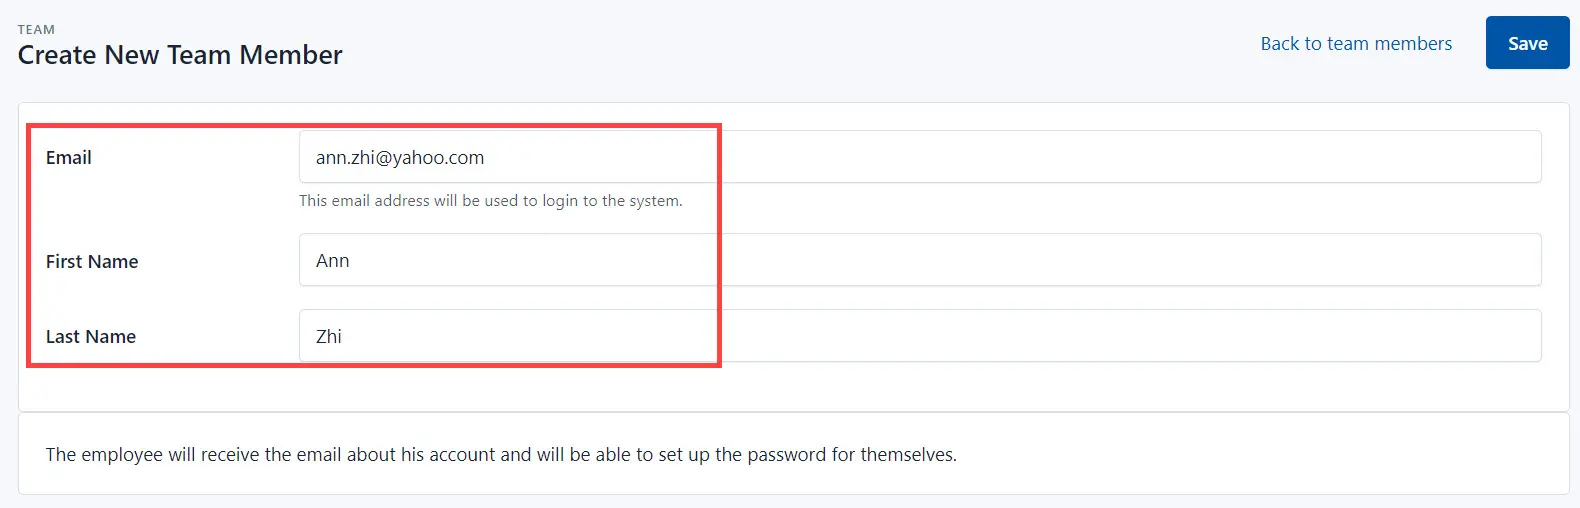
-
Click the Save button.
-
As a result, the system displays the user page, where you can edit the access rights. Click on the access rights group.
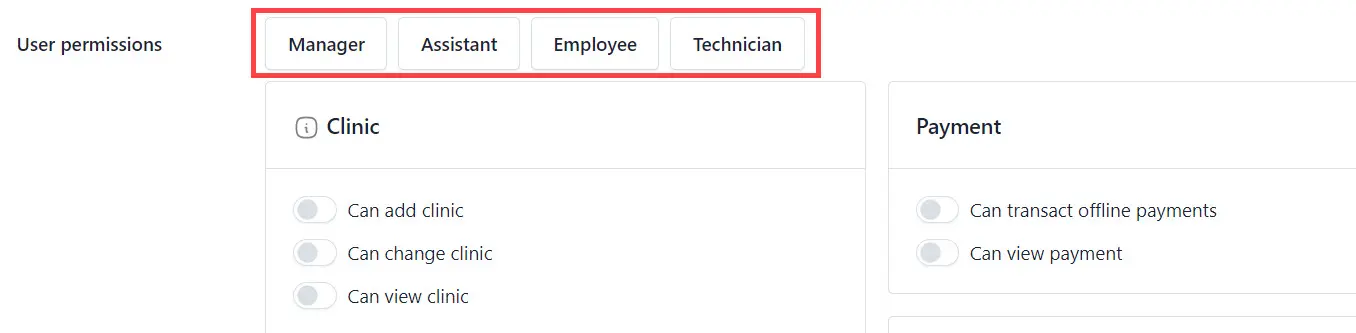
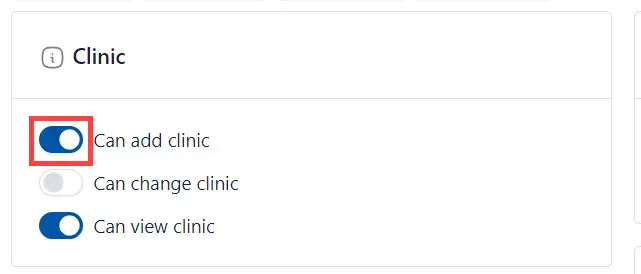
- Click the Save button.
Edit user
To edit the user, click on the user’s name and make changes on the user’s page. Click the Save button to save changes.
Deactivate user
To deactivate the user, do the following:
-
Click on the user’s name you need to deactivate.
-
Click the Deactivate button.
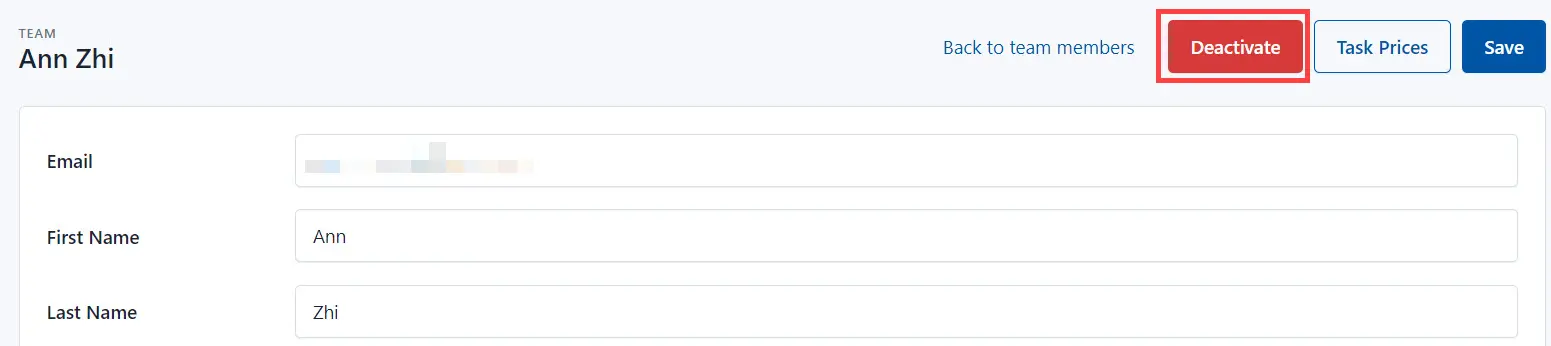
- Click the OK button to confirm your action.
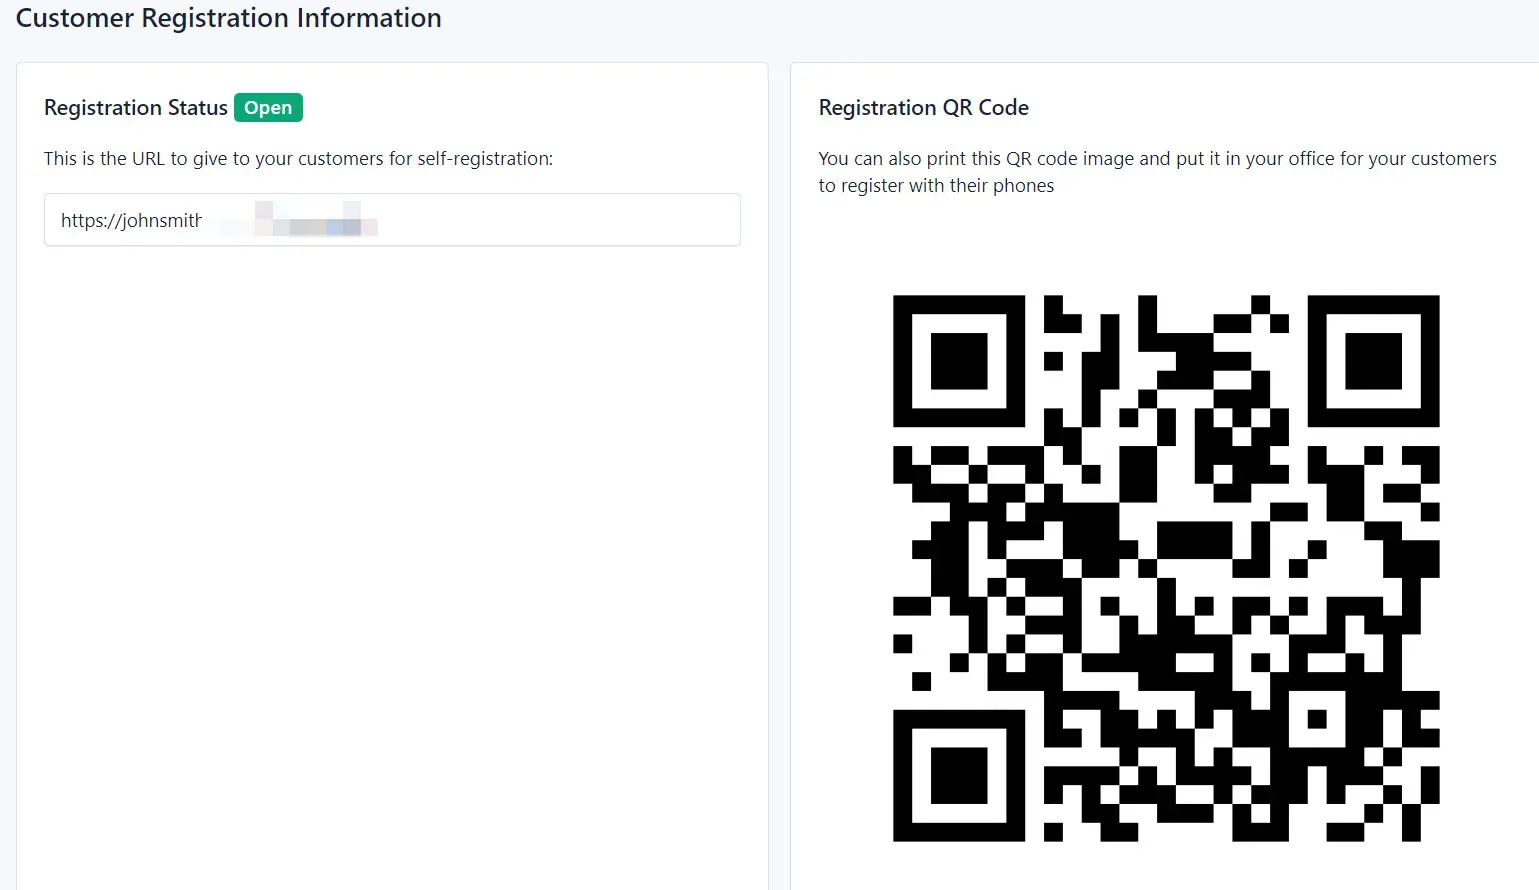
Registration
The Registration section contains a link for self-registration in the system and a generated QR code that also allows you to access the registration page.
Logo
Go to the Settings->Logo to change your laboratory logo displayed in the system.
To change the logo, do the following:
-
Click on the Change logo field.
-
Select the required image on the computer’s local disk.
-
Click the Save button.
Integrations
The Integrations section manages the integration of your lab with another lab or a 3-Shape scanner.
On the website of the laboratory from which the shipment is planned:
- Click the Integrate button and select the Dental Space One from the list.

-
Enter the laboratory name and its link in the following format: https://vrds.ondso.com/
-
Click the Save button.
Lockdown Laboratory
To block the laboratory site, go to the Lockdown settings section and press the Lockdown Laboratory button.

After that, the laboratory’s website will not be available for viewing.