Create a new Order
The dental laboratory must receive a detailed description and requirements for the final product before making dentures and other products.
You must to create an order in the system and send it to the laboratory.
Create Order button
On the Dashboard->Your active Orders section click the Create Order button.

Fill in Main fields
Fill in the following fields:
- Title - the patient’s full name;
- Sex - the patient’s sex (female or male);
- Impression Type - select the imprint type: digital or analog;
- Appointment date - the date when the patient should come to the doctor (the order must be ready by this time);
- Color - the imprint color;
- Implant System - enter the name of the implant system to be used;
- Requirements - add an additional description;
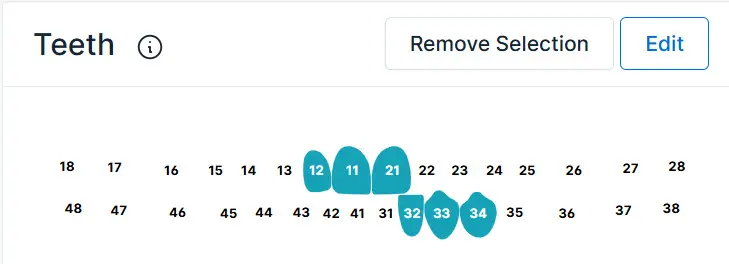
- Teeth - select the teeth you need to work with;
- Order Services - select at least one service to save or send the order to the laboratory.
Teeth selection
You can select one or more than one tooth.
Services Selection
Go to the Available Services section and select services to produce the dentist product.
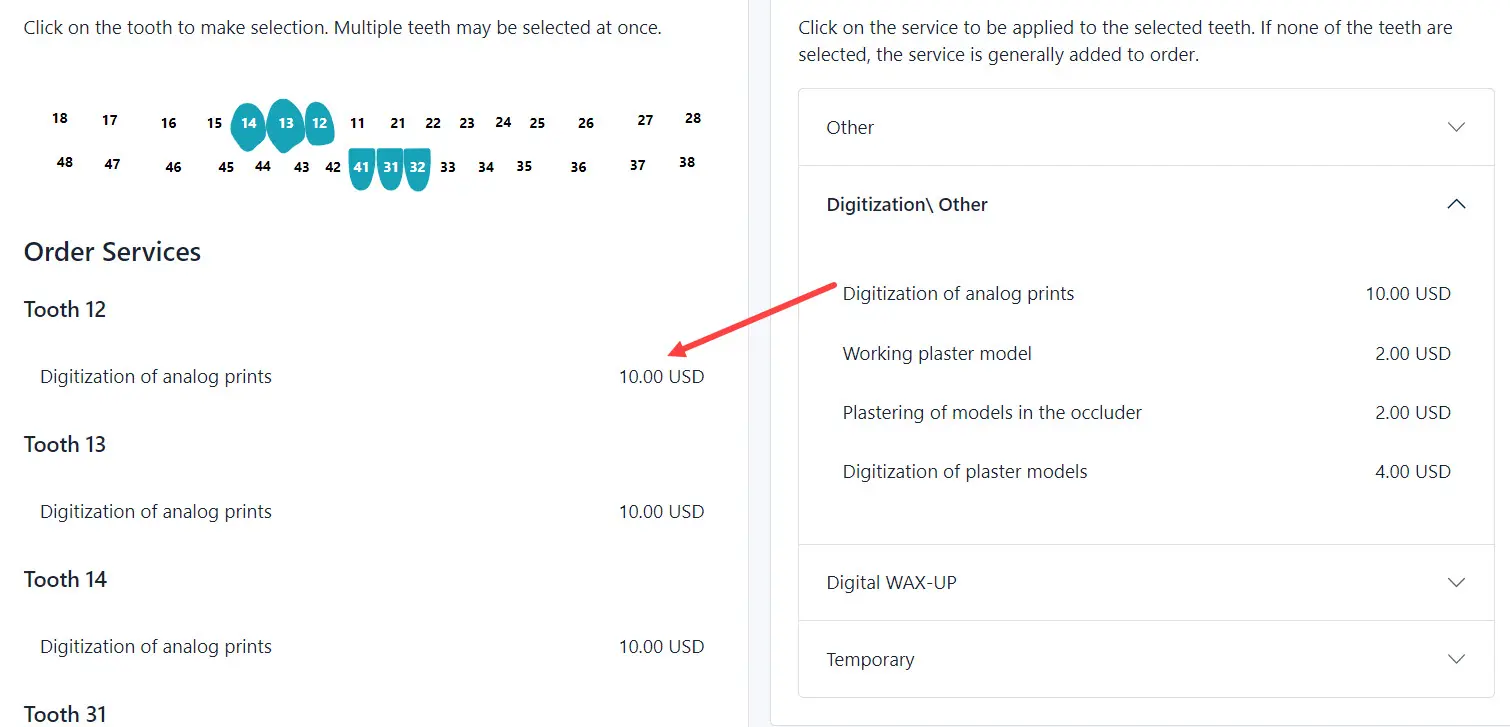
The system displays the selected services on the left part of the page.
Dental Map creation
With the dental map’s help, define the dental product types you need (e.g., bridges, implants).
Click the Edit button.
Please, read the detailed information about Dental map creation here.
Add Files
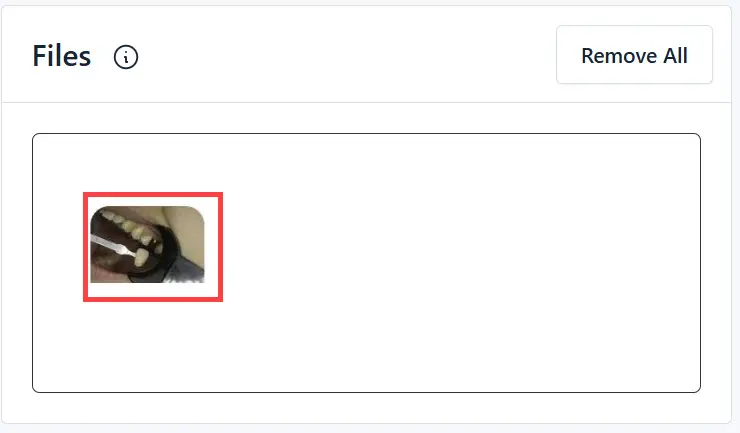
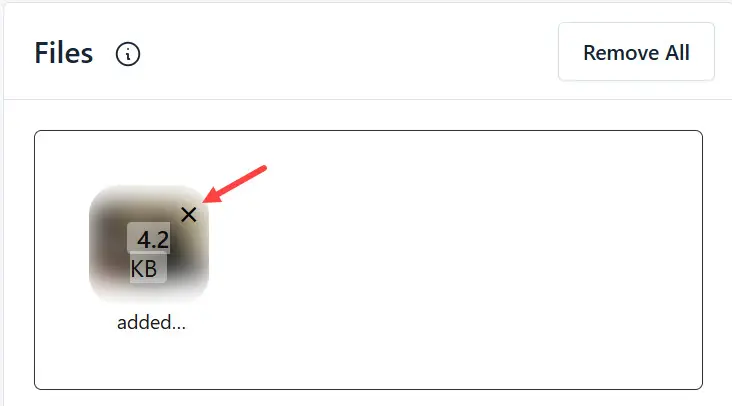
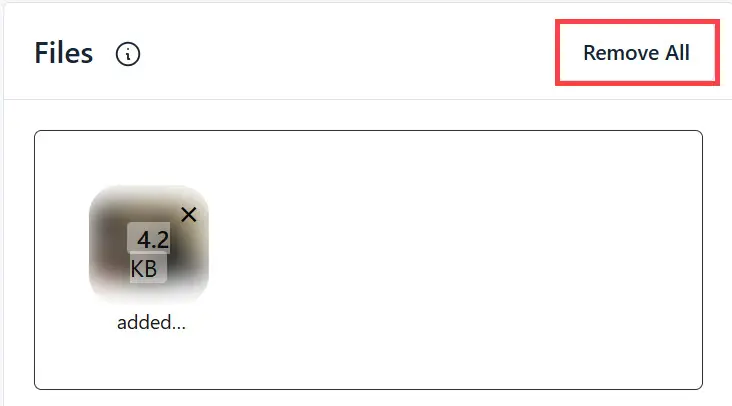
To add all files to the order, click on the field with the mouse cursor field and select files from your computer’s local drive.
The selected files are displayed when the order page is created.
Save and publish the order
- Click the Save Draft button if you need to save the order and add more details later (for example, after additional consultation with the patient). The system doesn’t send this order to the laboratory and saves it with the Draft status.
- OR click the Send button to publish this order and send it to the laboratory. The system changes the order status to Published.